Sometimes you might take a photo and you know it’s not quite right, but you can’t put your finger on what is exactly wrong with it. One of the most common complaints I see is that an image is ‘fuzzy’ or ‘soft’. While everybody can appreciate a soft and fuzzy teddy bear, blanket or cat…we don’t want to see that in our photos. Today I want to talk about the various reasons your images might be coming across as ‘soft’ or ‘fuzzy’. All of my example images (except the last one) are completely unedited, SOOC images.
Culprit #1: Slow Shutter Speed aka Motion Blur
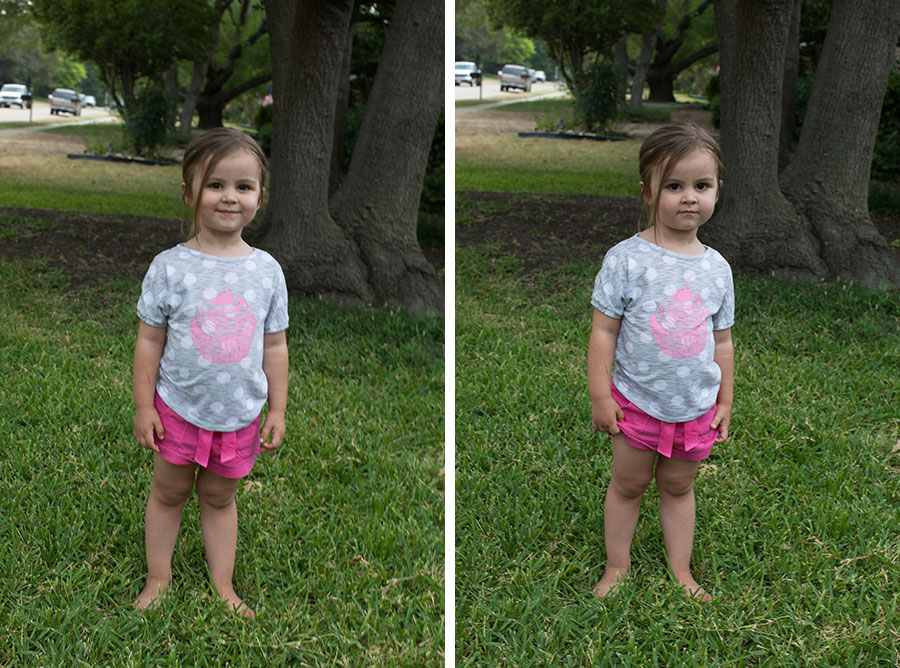

ISO 100, f/9, 1/40th, 50mm
Motion blur is one of the most common culprits in ‘soft’ photos. The photo is technically in focus; but it just lacks that crispness that we all like to see. Motion blur is caused by using too low of a shutter speed. What exactly is ‘too low’? Well, a general rule is that your shutter speed should be at least twice your focal length (at a minimum), although that’s not a hard and fast rule. The longer your focal length, the higher shutter speed you’ll want to use to ensure your photos are nice and sharp. You have to be careful on the wide end as well. While 1/70th might work at 35mm, that’s awfully low to try and capture a child in motion. For young children, I generally would suggest 1/200th at a minimum. With new camera technologies, you have to worry less about bumping your ISO up because the ISO handling on most newer cameras is so good.
You can see that even though Zaida was standing completely still, my photos are still soft, and that’s because we all have some small, natural handshaking that we don’t even feel, but it affects the camera’s shutter when it’s too slow.
Remember, that as with all photography rules, this is one that is subjective to the situation. I might use a shutter speed of 1/100th for a newborn that’s simply laying still. It’s just important to pay attention and adjust your shutter speed accordingly.
Culprit #2: Super Shallow Depth of Field

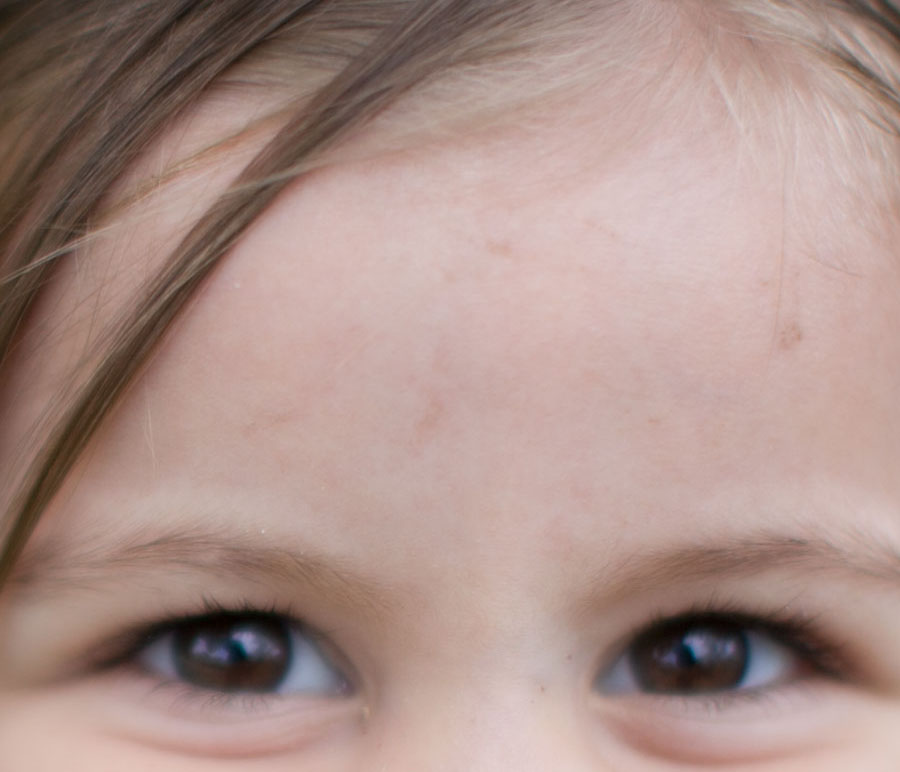
ISO 100, f/1.2, 1/1000th, 50mm
We all love a good creamy background behind our subject. But, shooting wide open is not always the answer. First of all, your lens is normally sharpest a few stops down from its widest point. I normally shoot around f/2 or f/2.2 for a single subject on my 50mm f/1.2L lens. If I am doing a strong close up shot, I might close down to f/2.8 just because the closer you get, the shallower your depth of field gets. With this shot of Zaida, I was shooting wide open at f/1.2. Because of how close I was to her, my total depth of field from front to back was only about 1/3rd of an inch. The focus ended up falling on her hair and even the area that IS in focus is pretty soft. If you shoot wide open all the time and find you have a lot of ‘soft’ photos, try stopping down a little bit and see if you have better results.
Culprit #3: Missed Focus


ISO 100, f/2.8, 1/250th, 50mm
So you’ve bumped up that shutter speed and closed down your aperture but your photos still aren’t where you want them to be. Our next step is to tell the camera exactly where we want it to focus using our focus points. When you look through your viewfinder as you take photos, you will see little red squares light up. Different models of cameras have different numbers of squares and different options. When the camera is able to choose its own focus point, it will often focus on an easy, high contrast area. The general rule of thumb when it comes to focusing, is choose a focus point that hits the eye or the inside corner of the eye for close up shots or one that heads the face on a full body shot. Since there are so many DSLRs out there and they vary in the way you can choose the focus point, I’m going to tell you to refer to your manual or to Google to learn how to change them on your specific camera. Generally there is a button on the back of your camera with a grid type symbol next to it and when you press it, you will be able to cycle through your focus points with the wheel on top of your camera (the same one you change your shutter speed with!).
On this image, I let the camera pick the focus point. When it’s zoomed out, it doesn’t too bad, but when you zoom in at 100%, you can see that the focus actually fell on her hair and ears and not her face. Choosing your focus points helps ensure that you get focus where you want it!
I hope these tips help you on your way to achieving the photos you want. Remember that there are other things that can play into a great photo, like the quality of light. Keep practicing and honing your craft and have fun with it.
